All about the lineGrip and its technology
What is the lineGrip?
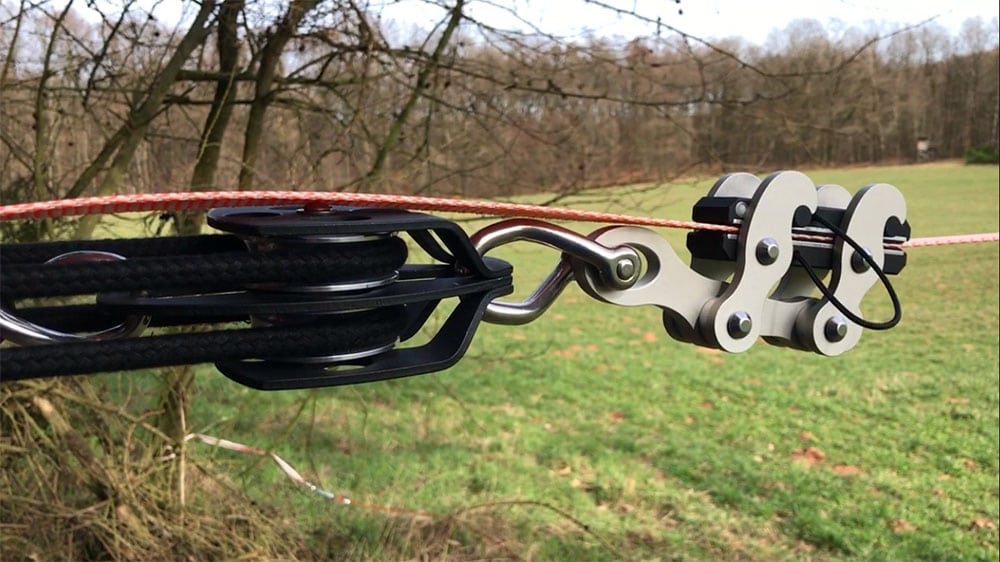
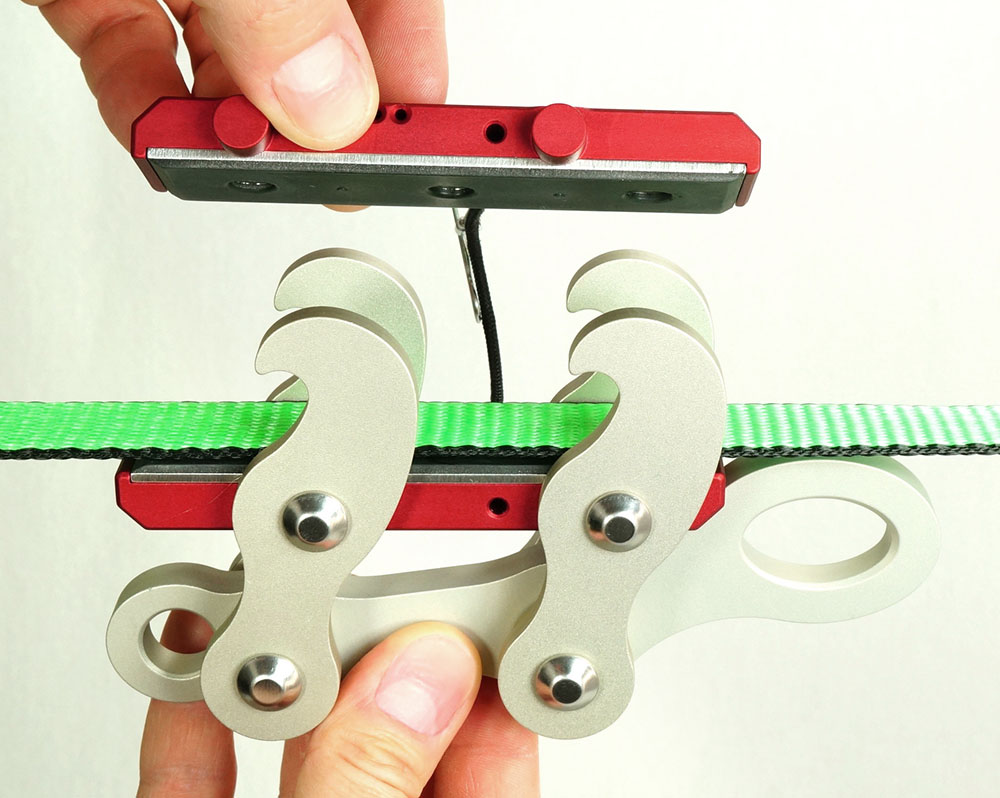
The lineGrip is a webbing clamp to grab and pull flat, woven straps, specifically slacklines.
In the widest sense it is comparable to the well known rope clamp (or “Jumar”) used for grabbing a rope. It easily attaches to loose and tensioned slacklines and firmly grips the webbing, wherever it is positioned to.
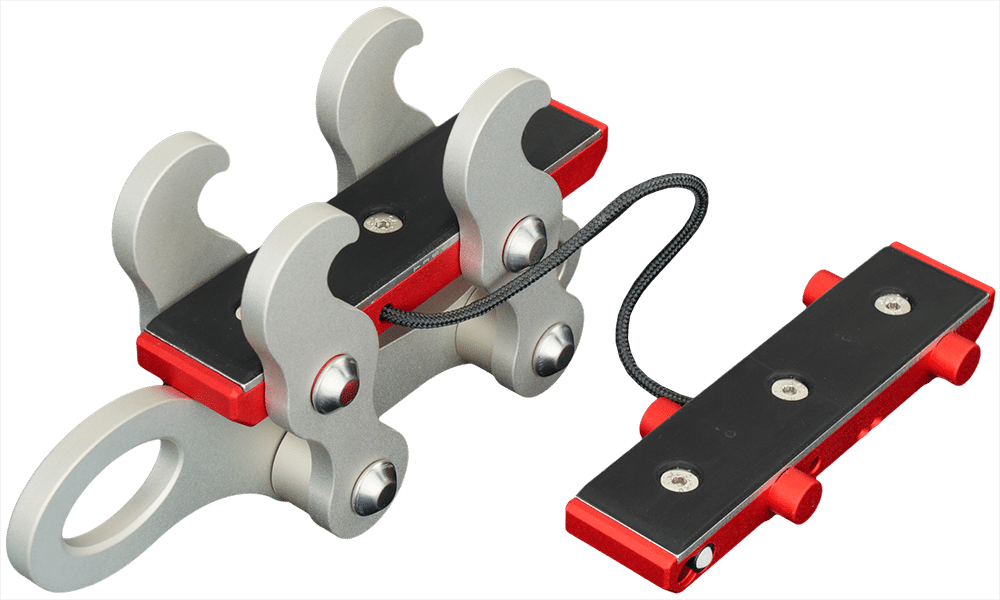
However, unlike the rope clamp, which uses steel spikes, the lineGrip is equipped with rubber clamping surfaces to grip the webbing. This guarantees the integrity of your precious slackline, no matter how often you grip at the same spot or how hard you pull.
Learn more about the lineGrip rubber >
By attaching a tensioning system to the lineGrip, it allows you to tension your slackine, attach the loose end to a web-lock and then remove the lineGrip and tensioning system from the rigged slackline, leaving you with a so called “softpointed” line, with nothing but webbing, from anchor to anchor.
How it all started…
The lineGrip was invented by Andy Riedrich in the summer of 2009, while experimenting with better solutions to tension his longlines.
Soon after discovering the pivot-lever functionality, he realized, that this technology, being easy, versatile and small, had great potential for becoming an invaluable tool for any longliner. After assessing manufacturing possibility, and market potential, he decided to patent his idea and invest all of his time and resources in developing this promising technology to an amazing market-ready tool, that would help slackliners all around the globe in realizing their projects, and achieving their slackline goals.
Half a year later, in May 2010, the first lineGrip series units rolled out to customers.
The lineGrip function principle
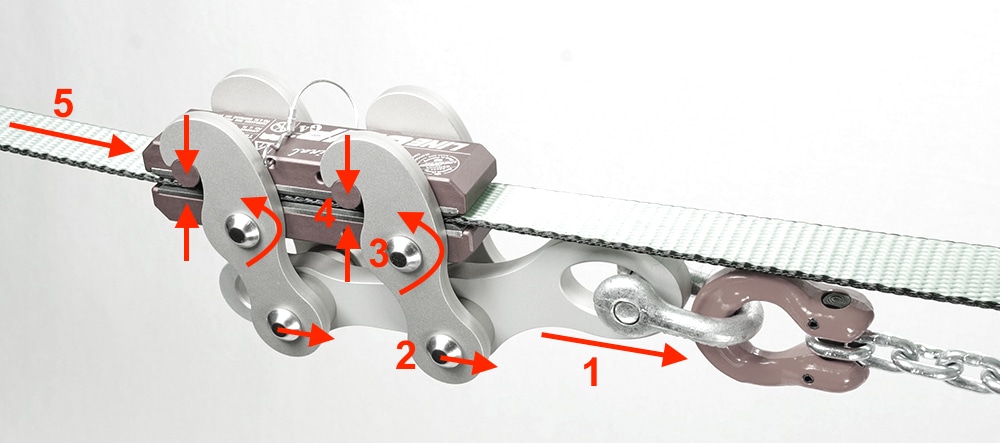
- Pulling force transferred to the load bracket
- Force transferred to the levers
- Levers pivot and transfer force to the stationary clamping plate through the pivot point
- Pivot action converted to pressure for grabbing webbing
- Pulling force transferred to webbing
After 8 years of research and development, we believe, that we’ve managed to combine all this pretty well!
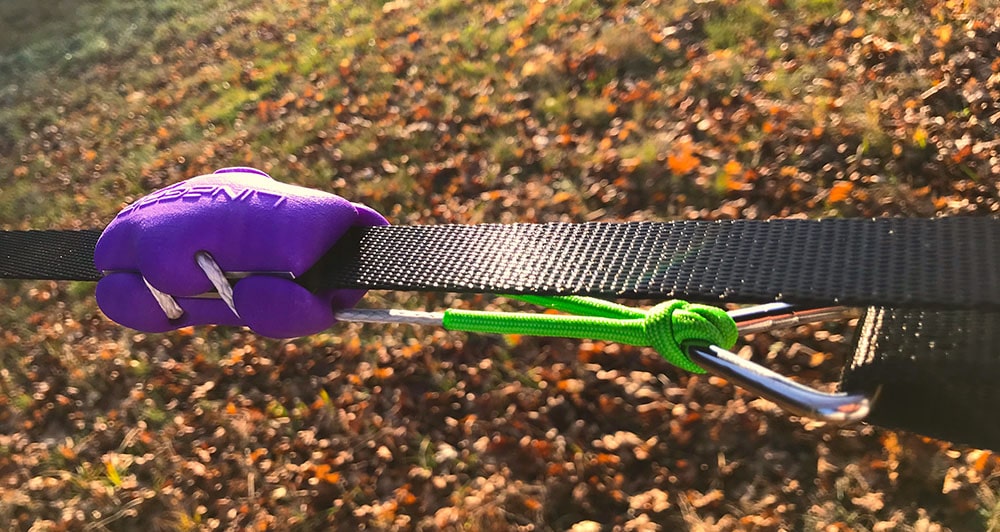
The lineGrip nano also works with pressure between two rubber plates, with the difference of the pulling force being converted to pressure via a cord which is looped over a diverter on the smaller plate module.
When a load is applied at the cord loop, the cord tightens, whereby the two plates are pulled against each other, which produces a pressure force that is almost proportional to the pulling force.
The lineGrip technique
1. The attachment point of the tensioning system to the webbing is flexible (movable)
2. The tensioning system can be removed from the slackline, after it is rigged
This opens up countless possibilities, that are unthinkable without the lineGrip.
Due to the movable attachment to the webbing you can reset the attachment point (the lineGrip) and re-extend the tensioning system as often as needed, until the desired webbing tension is reached. This will reduce the needed length of the tensioning system to a minimum, without limiting the possible rigging length of your webbing. Generally 2-3m working length is sufficient for the tensioning system.
Since you can remove the tensioning system from the rigged slackline, you can use it to rig another line. This eliminates the need to have multiple tensioning systems available to rig multiple lines.
The lineGrip tensioning technique in simplified form:
Please note: this is merely an overwiew to demonstrate the basic technique. Theres many details to consider when applying this technique, so please learn the safety precautions before using the lineGrip!
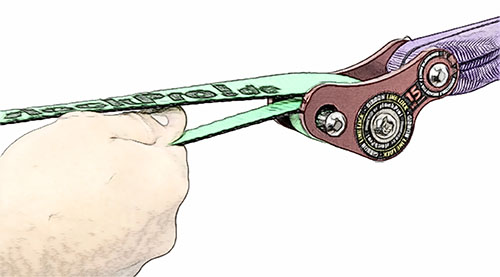
Step 1
Attach the slackline to the anchor points.
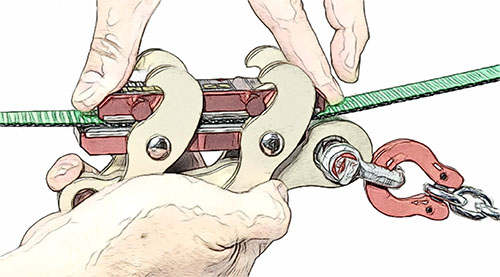
Step 2
Attach the lineGrip to the webbing and the tensioning device.
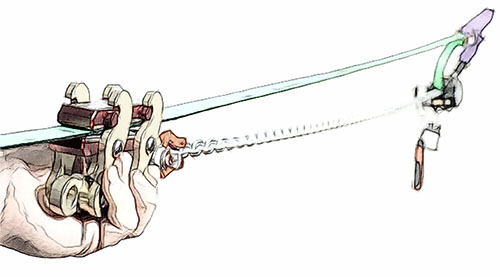
Step 3
Move the lineGrip away from the anchor as far as possible.
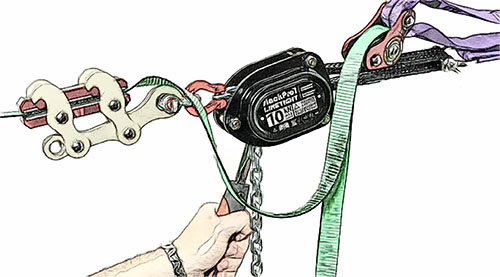
Step 4
Now tension the slackline. Remember to frequently(!) haul in the slack webbing!!!
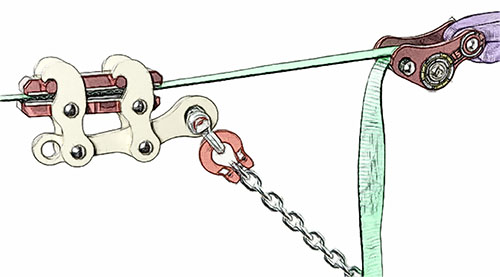
Step 5
When the tensioning device is fully contracted, transfer the load of the system to the webbing locker.
Finally,
remove the lineGrip from the webbing and you’re done 🙂
Note: Always backup your anchors!
The lineGrip must always be removed from the webbing before walking the slackline!
REMEMBER: while tensioning, always keep the lineGrip backed up with minimal slack!
The lineGrip key elements
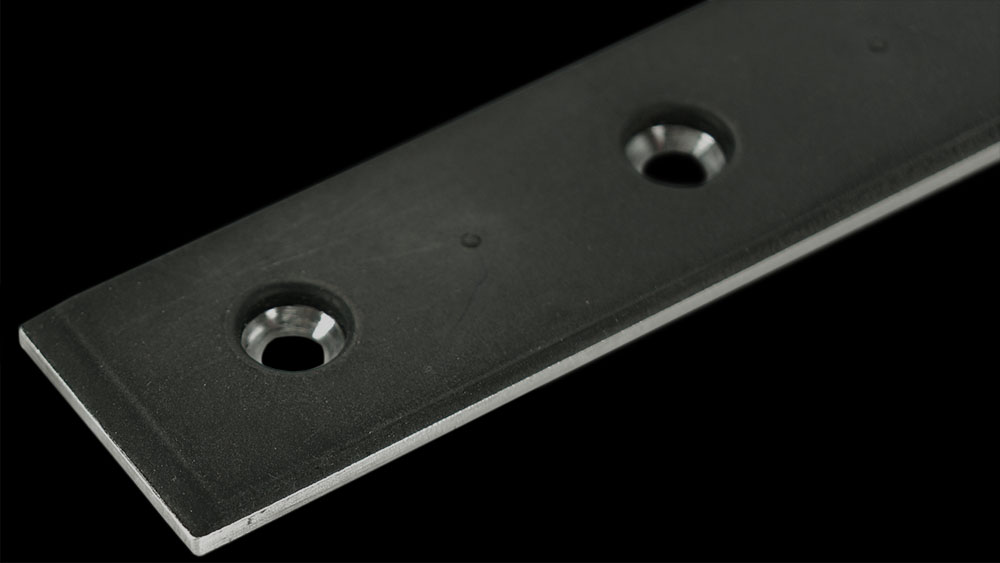
Key Element 1 – the rubber plates
This is the element, that makes the lineGrip so reliable and safe and differentiates it so much from all the other attempts, that have been made by others with line-grabbing devices.
The biggest challenge, when dynamically grabbing a slackline and applying high load, is not the integrity of the metal parts, but solely, achieving a reliable connection to the webbing, without damaging the fibers.
The rubber coating on the clamping plates is a custom compound made from 18 specific ingedients. It includes special additives, such as softening agents to ensure softness up to -10°C, high tech compounds, to increase mechanical stability, smearing inhibitors, to reduce smearing at high temperature and silica to increase mechanical grip on the webbing.
In combination, these ingredients form a rubber, that will create a reliable connection to the webbing, without ever harming it in any way, even if it should slip under certain extreme conditions.
Key Element 2 – the pivot hook-levers
This is the feature that makes the lineGrip so easy, versatile and fast to use.
The shape, angle and size of these hooks, the angles of the levers and distances between the connection points is not random. All of these were optimized in many years of research and development, to combine best usability-strength-weight ratio, that delivers optimum pressure between the plates, with any webbing thickness from 1-5mm.

